
Effortless Ubuntu Server Configuration Tips
- Dans Kupcs
- Jun 14, 2024
- 2 min read

Updated: Jun 16, 2024
Linux Ubuntu server 18.04 LTS installation and configuration of services.

Linux UBUNTU server – web server creation
Apache Installation and operation of software
sudo apt update
sudo apt install apache2
y
Result.

We install Apache PHP modification, PHP and PHP MySQL extension.
sudo apt install libapache2-mod-php php php-mysql
y
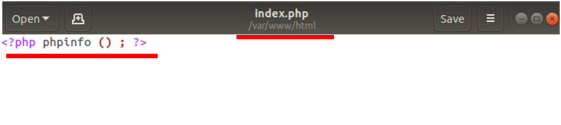
Creating a PHP file - index.php, which displays information about the Web server and changes access rights to a Web server folder in the hierarchical structure. Contents of the file: <?php phpinfo(); ?>
cd /var/www
sudo chmod 777 html
cd html
sudo chmod 777 *.*
change file /var/www/html to php.
Result.

Database management system software installation and ensuring operation.
sudo apt install mysql-server
y
We edit the default apache2 security policy by removing error information and server version display.

Let's edit the nano section nano
sudo nano /etc/apache2/conf-enabled/security.conf

Return to the terminal.
sudo apchectl configtest
Restart server.
sudo systemctl restart apache2
Result.

MYSQL initial/secure installation
We create a secure password for ROOT account, This account has full access to all databases, tables, etc.
sudo mysql_secure_installation
y
Enter the password
We remove anonymous user accounts, Disable remote access to the ROOT account, Remove the unused default test database.
We reload the security settings of databases.
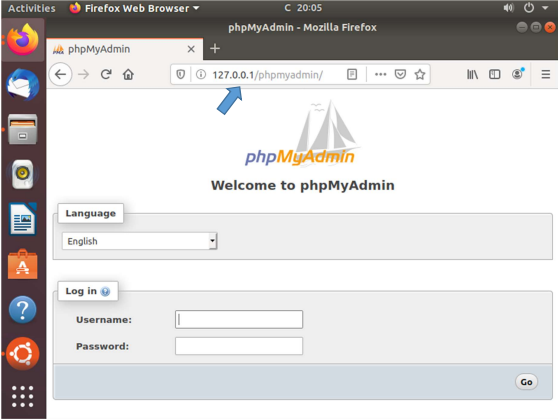
Installation and operation of PHPMyadmin software.
Add repository.
sudo apt-add-repository ppa:phpmyadmin/ppa
Install and configure PHPMyAdmin.
sudo apt install phpmyadmin


Result.

Installing CMS WordPress on Linux UBUNTU web server
We connect with phpMyAdmin tool to the MySQL database.

Create a new database.

Find and download the WordPress CMS archive on the Internet.

Unzip the archive and copy the contents to the html folder.

We start the WordPress CMS installation in the Internet browser.

We fill in the fields: database name, database username, database password.
If everything is correct, then the installation of Wordpress CMS can be launched.
We fill in the fields: Site Title, Username, Password.
Connecting to Wordpress CMS.

Linux Ubuntu server – Creating a SFTP server
SFTP server Installation and operation of software.
sudo apt install openssh-server
y
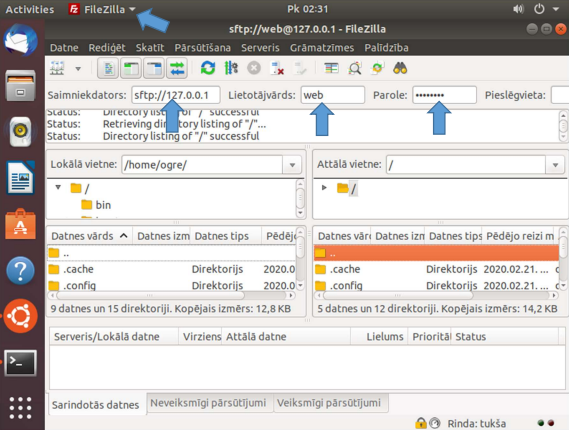
FileZilla client software installation and operation.
sudo apt install filezilla
y
Result.

Create a user group in sftpusers and create and insert users into a sftpusers group.
sudo groupadd sftpusers
sudo adduser --ingroup sftpusers web
Enter password.
y
Result.

Changing access rights and configuring the configuration file.
For the user, the web home directory is configured as "jail", i.e. the user can only view the contents of his home directory, but cannot access the rest of the operating system files outside the home directory.
sudo chown root:root /home/web
nano /etc/ssh/sshd_config

Restart server.
sudo service sshd restart
Result.
In the user's web home directory we create a directory with the appropriate name: www-html. This folder will be the root catalog for the (virtual) website, so in the folder /var/www/ let's create a symlink with the same name to this folder, i.e. symlink /var/www/html/www-html points to the /home/web/www-html folder.
cd /home/web
sudo mkdir www-html
sudo ln -s /home/web/www-html /var/www/html
sudo chmod 775 /home/web/www-html
sudo chown web /home/web


Comments